![]()
Created: 07/28/2020 By: RCcola1987
![]()
Welcome to the Ultimate Ad Blocking setup tutorial. This tutorial will provide you will the information and commands to setup PiHole for whole network adblocking. Also, some of the security concerns the ads bring will be discussed.
The following is required to have been setup before you continue with this guide.
The Reasons to Block Ads and Tracking
As many of you may have seen in the news and on social media, malicious ads, and companies tracking your internet activities is becoming a major issue. Not only are these ads distracting but in many cases are used to track your activity and can even contain malware.
Another reason to block ads and tracking links is email spam. Most spammers use tiny invisible images inside emails to track that you not only received the email but also opened it. On top of this they can get many details about your computer and with some exploits can even get access to your computer.
With all this in mind, it makes sense to setup a system like PiHole to help protect your computer, network, and your privacy.
Please find the following information about your system you are installing Pi-Hole onto and save it for use in this tutorial.
ip addr show On Raspberry Pi OS use ifconfig](– On Ubuntu use the ip addr show On Raspberry Pi OS use ifconfig)df -h and ensure that you have at least 5GB free](– df -h and ensure that you have at least 5GB free)In this step, we will install all the required dependencies for getting Pi-Hole Installed.
sudo apt update && sudo apt -y dist-upgradeBelow are optional tools that can be very helpful when troubleshooting issues with your system but are not required to have a working Pi-Hole setup.
sudo apt update && sudo apt -y install vnstat glances bmonThis command will install the following components
Next, we will want to configure UFW to allow access to DNS and to the web interface.
yes | sudo ufw enablesudo ufw allow 5300sudo ufw allow 53sudo ufw allow sshsudo ufw allow 80sudo ufw allow 443sudo ufw statussudo ufw reloadThese commands will allow access to the ports listed from any IP on your local network. This will configure and enable UFW.
*** Warning *** Never run untrusted scripts from the internet. The below script is from the official Pi-Hole GitHub. If you would like to look at the script before running it please visit their GitHub at https://github.com/Pi-Hole/Pi-Hole.
The following command will download the official Pi-Hole install script and run it.
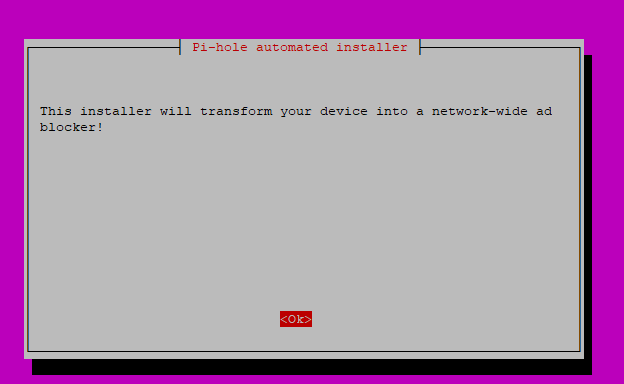
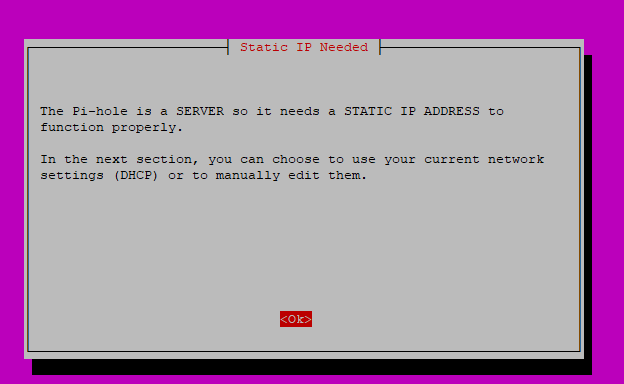
curl -sSL https://install.Pi-Hole.net | bashNow Pi-Hole install script will ask you the following questions to set the basic configuration of Pi-Hole. If you are not interested in descriptions of the following options it is safe to select the default for all options. Most of the options will be changed later.
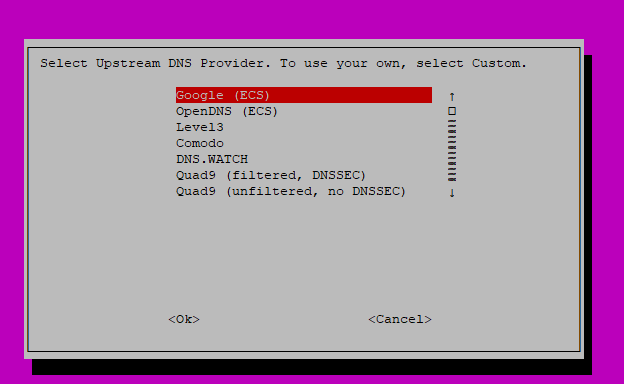
This option allows you to select your primary DNS server to use. This is the DNS server Pi-Hole will use for DNS queries.
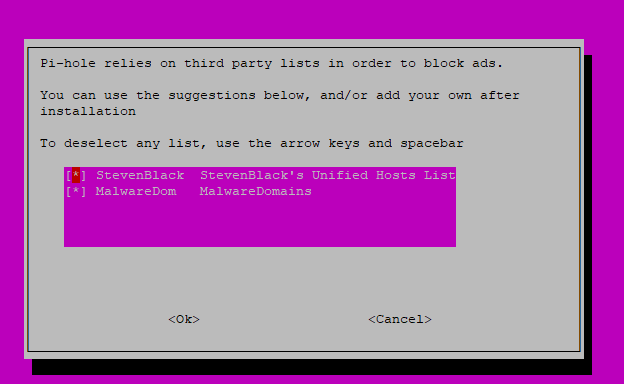
These are the basic blocklists. Both are very safe and tend to not have issues but they are missing some DNS names we will block later.
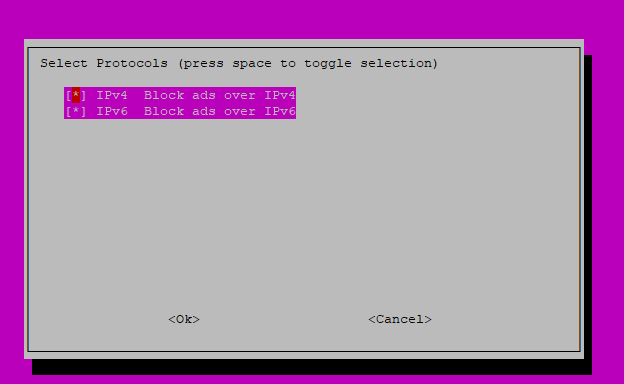
This allows you to select if you want to use both IPv4 and IPv6.
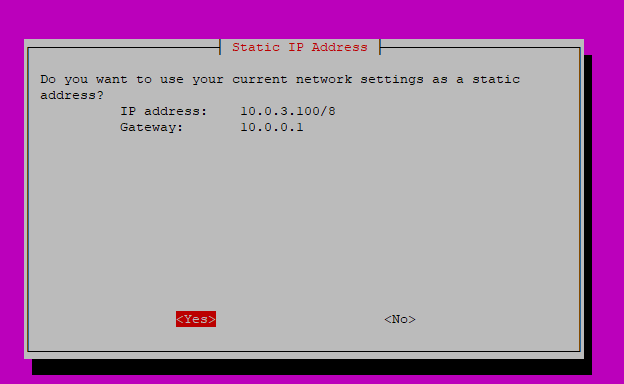
This screen shows your current server IP address and your routers/DHCP servers address. Make sure they are correct and write down the IP for later use.
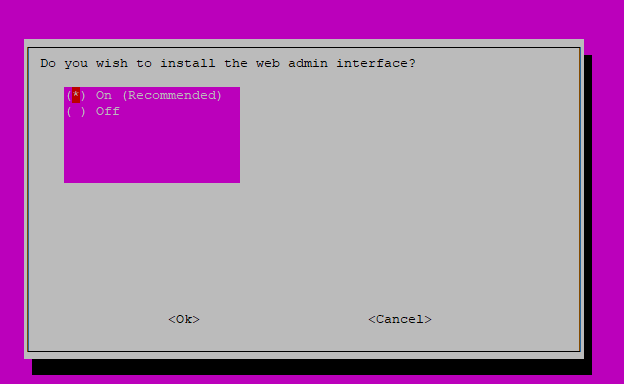
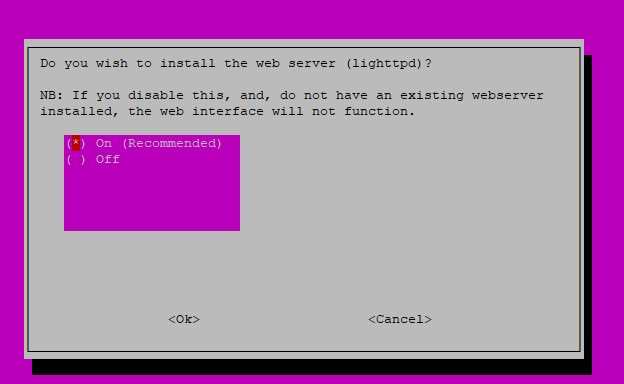
This is a little misleading. Without the admin interface, Pi-Hole is very hard to configure and maintain. It is required for this tutorial to install the admin interface.
This is required by the admin interface.
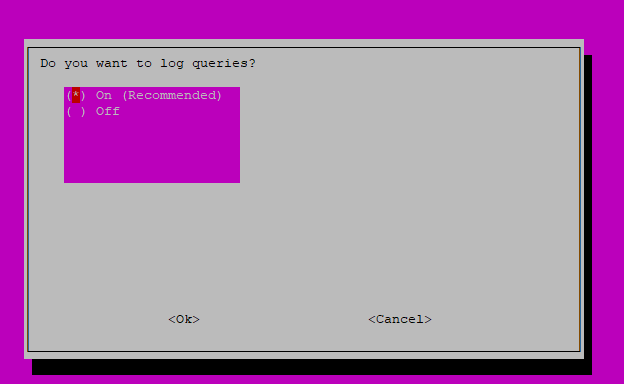
If you want to see where and what things are looking for this needs to be on.
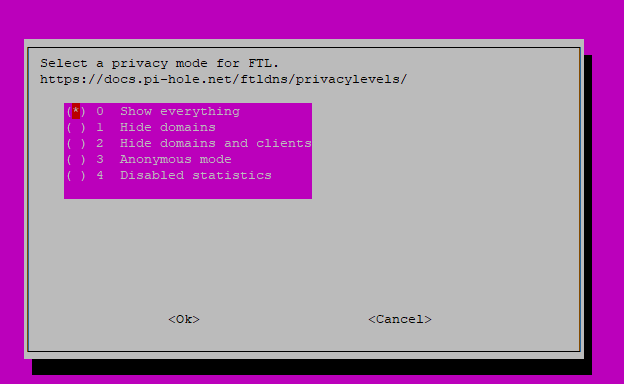
If your Pi-Hole is on a private network and not accessible from the internet; option 0 is what you will want to choose.
After the installer finishes, you will want to set your password for the Pi-Hole web interface. This password should be secure and should follow the following guidelines.
The following command will ask you to enter a password for the Pi-Hole web interface
sudo pihole -a -pNow to start using your new DNS server you will need to change your router’s DHCP settings to point to your Pi-Hole Server. Due to the sheer number of routers on the market, this change will not be explained fully here.
If you only want to have your desktop or laptop use Pi-Hole then change its DNS settings to point at your new Pi-Hole server. Please remember that you will need to reboot your computer for the changes to fully take effect.
At this point, you have a working basic Pi-Hole setup and if you are not interested in a more advanced setup you can stop here.
*** Note *** To access the Admin web interface; enter the IP of your Pi-Hole server in your browser.
Next, we will begin to add the blocklists that I have found to be the best available.
*** Note *** These blocklists are maintained by community members and I am not responsible for any issues that are caused by using these lists. Also, some of these lists are very aggressive and will require steps to allow certain services to work after enabling these lists.
These are the lists I prefer to use and have had great success with. These are in addition to the official lists.
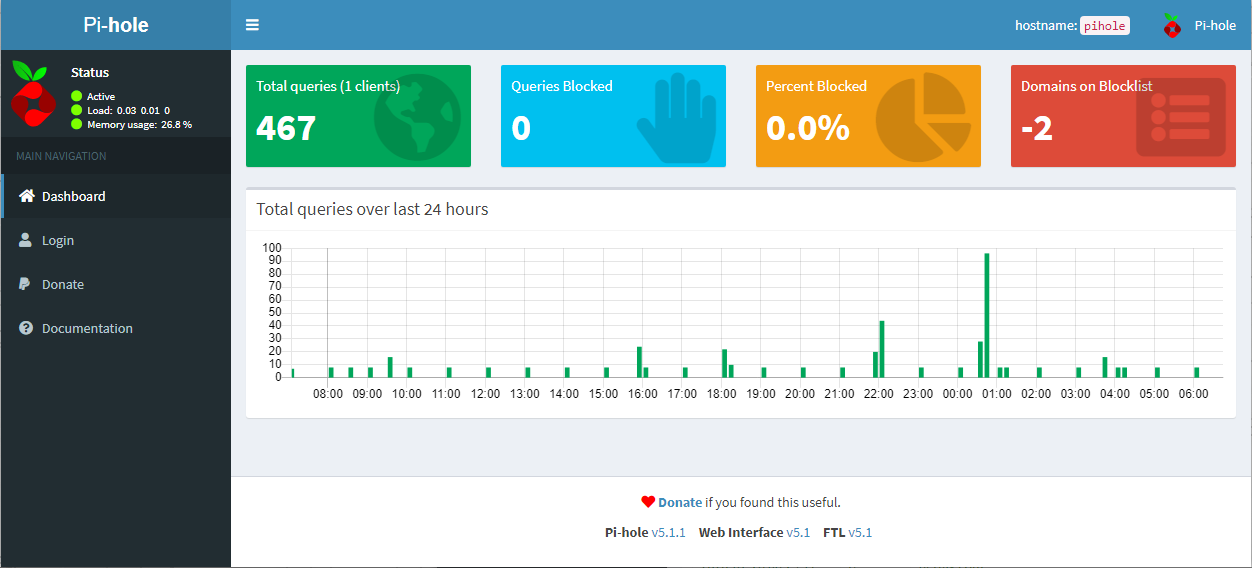
Log Into the Pi-Hole Admin Web Interface with the password you created earlier.
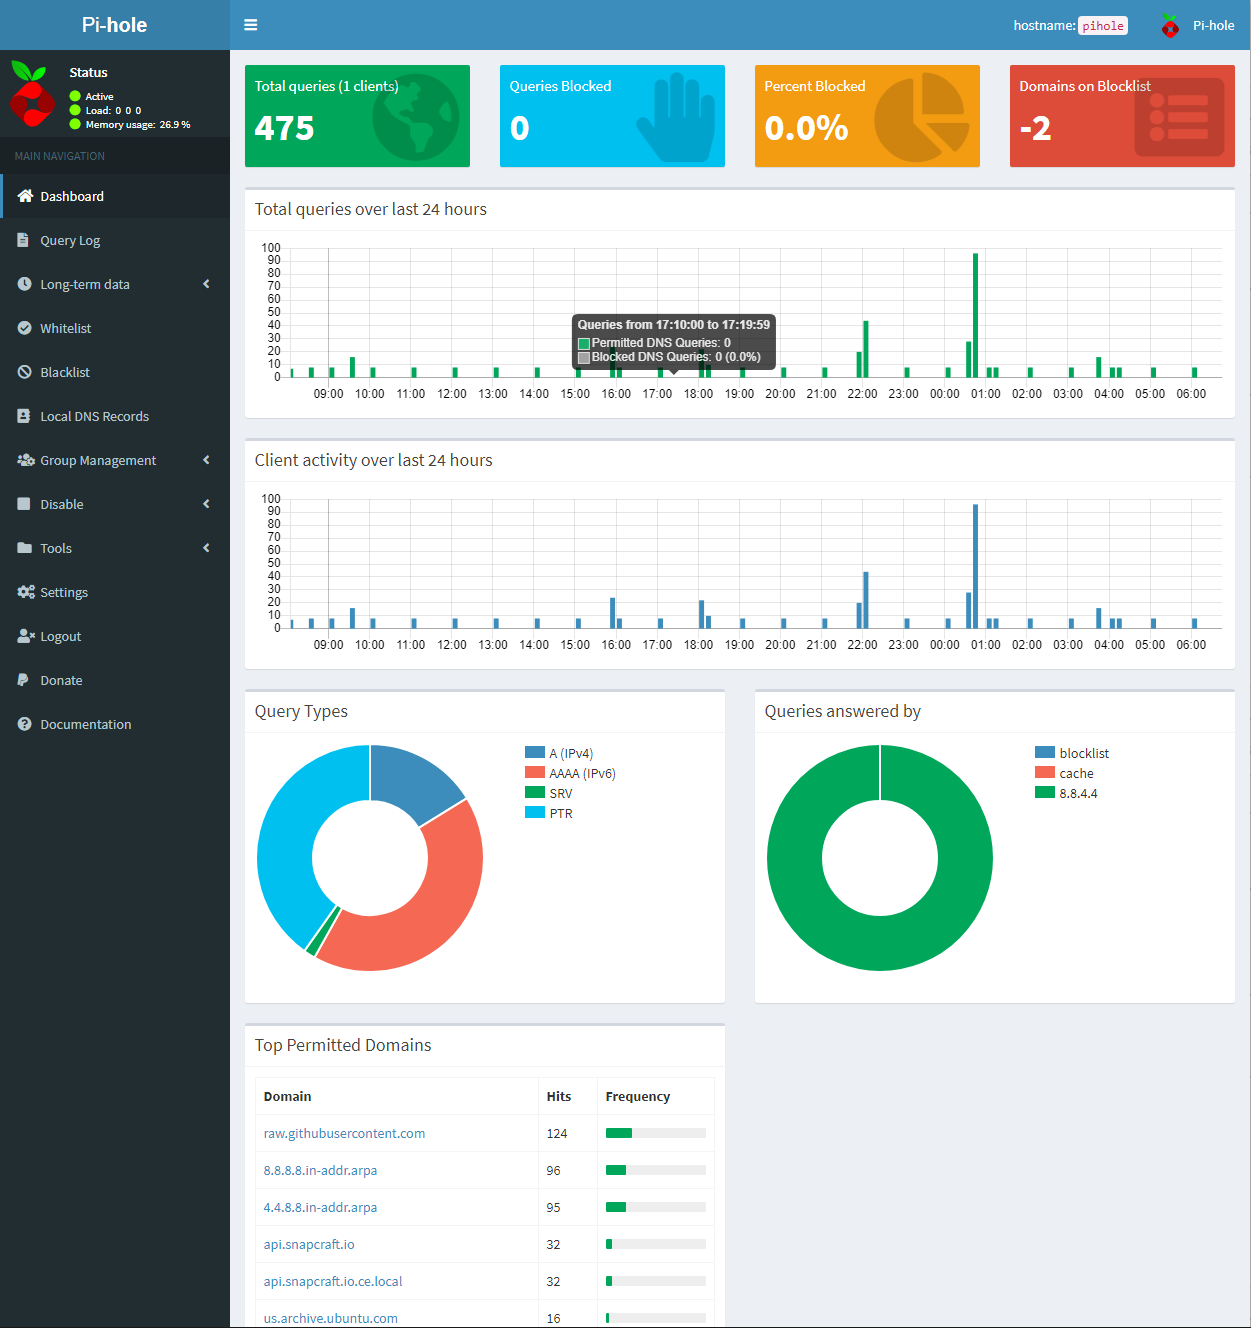
This will then load the main admin dashboard and show you statistics on your Pi-Hole.
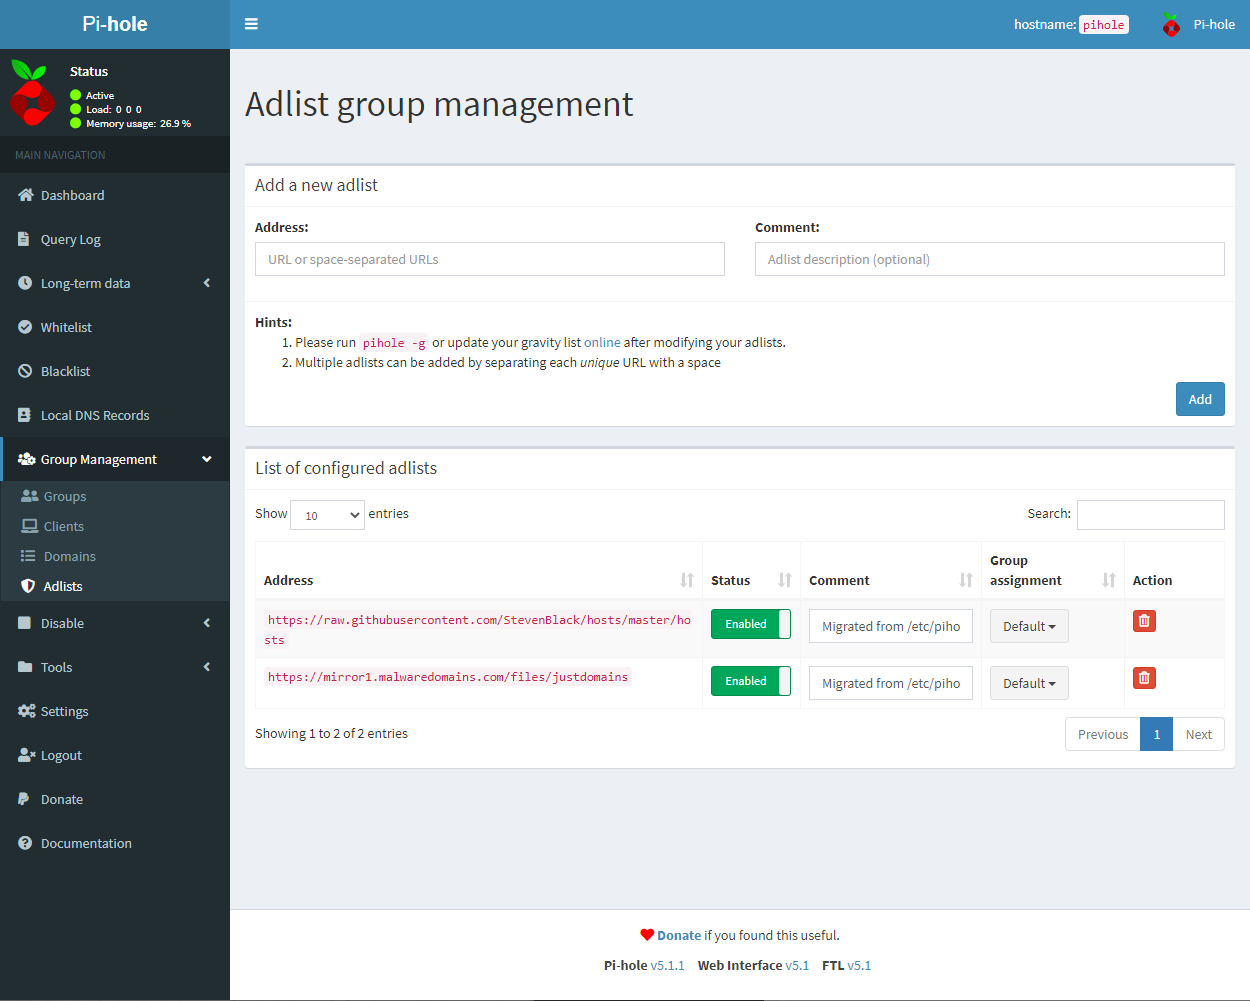
Next, you will want to click on the Group Management menu item and then click on Adlists. At this point, you can paste the link for the list you want to add in the address box and then click add. Once it is added you can add a comment so that you know what list it is or why you added it.
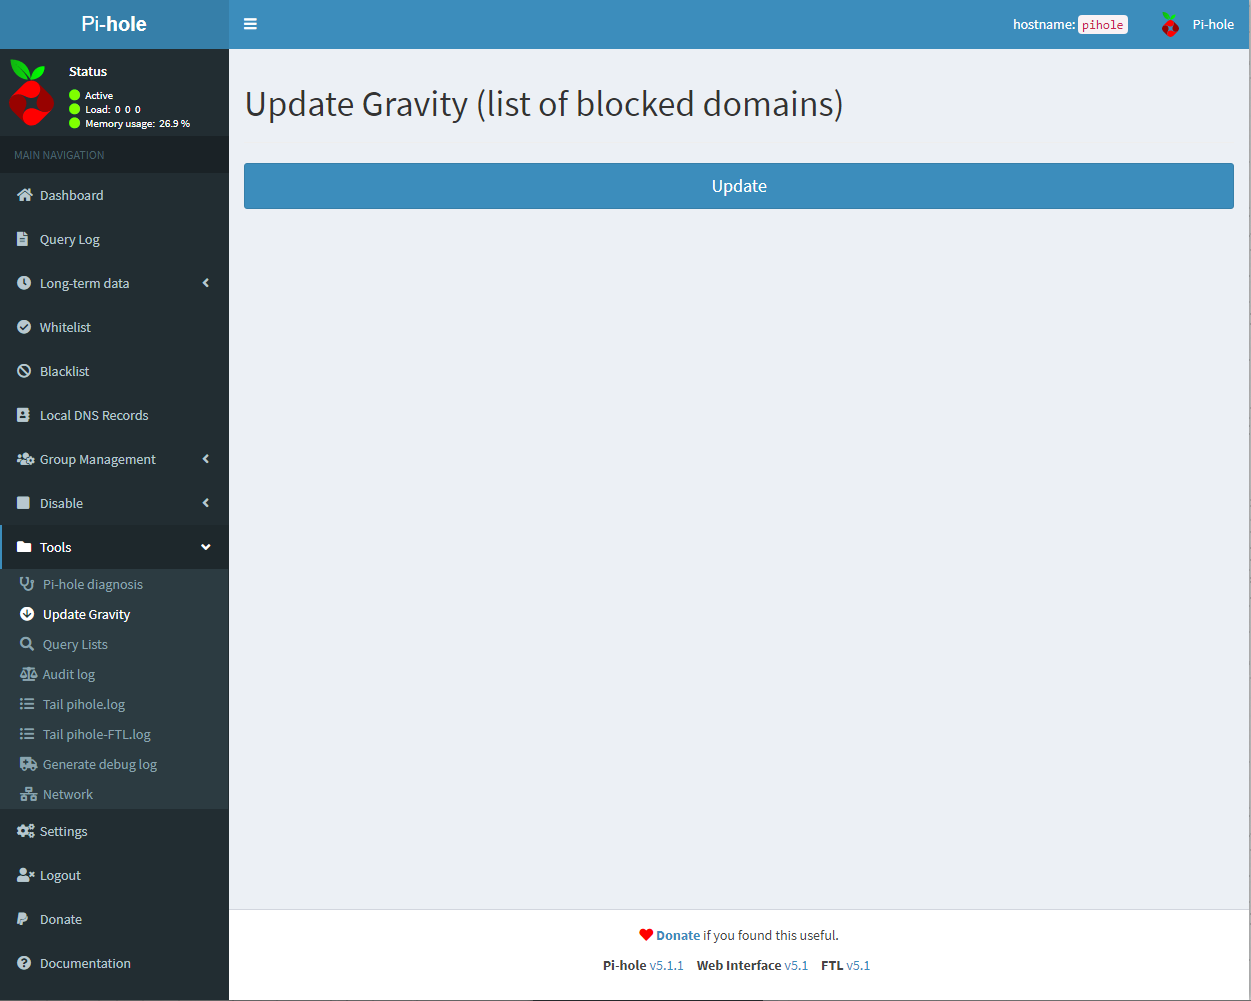
Finally, you will need to update the blocklists. To do this you will need to click on the Tools menu item and then Update Gravity. Once on this page click update and once it is done the lists you added will be active. Pi-Hole will do a list update automatically after this point but it is always best practice to update the block list after adding new lists.
With many of the lists out there some of the services you use may be blocked. This is where whitelisting comes in. In my experience, this only happens when either you are using a list that is either poorly maintained or is over-aggressive, or the services you are using is doing something it shouldn’t and not working because it silently requires the bad actions it’s taking to run.
Two good examples of this are CBS All Access and Google Chrome Sync. Personally I spent hours tracking down why these were not working. Both would fail without any visible error and simply didn’t work. Below are the items I have found to be necessary for these and other services to work.
There is a great list on the Pi-Hole forums at https://discourse.Pi-Hole.net/t/commonly-whitelisted-domains/212. To add these to the white list follow the steps below.
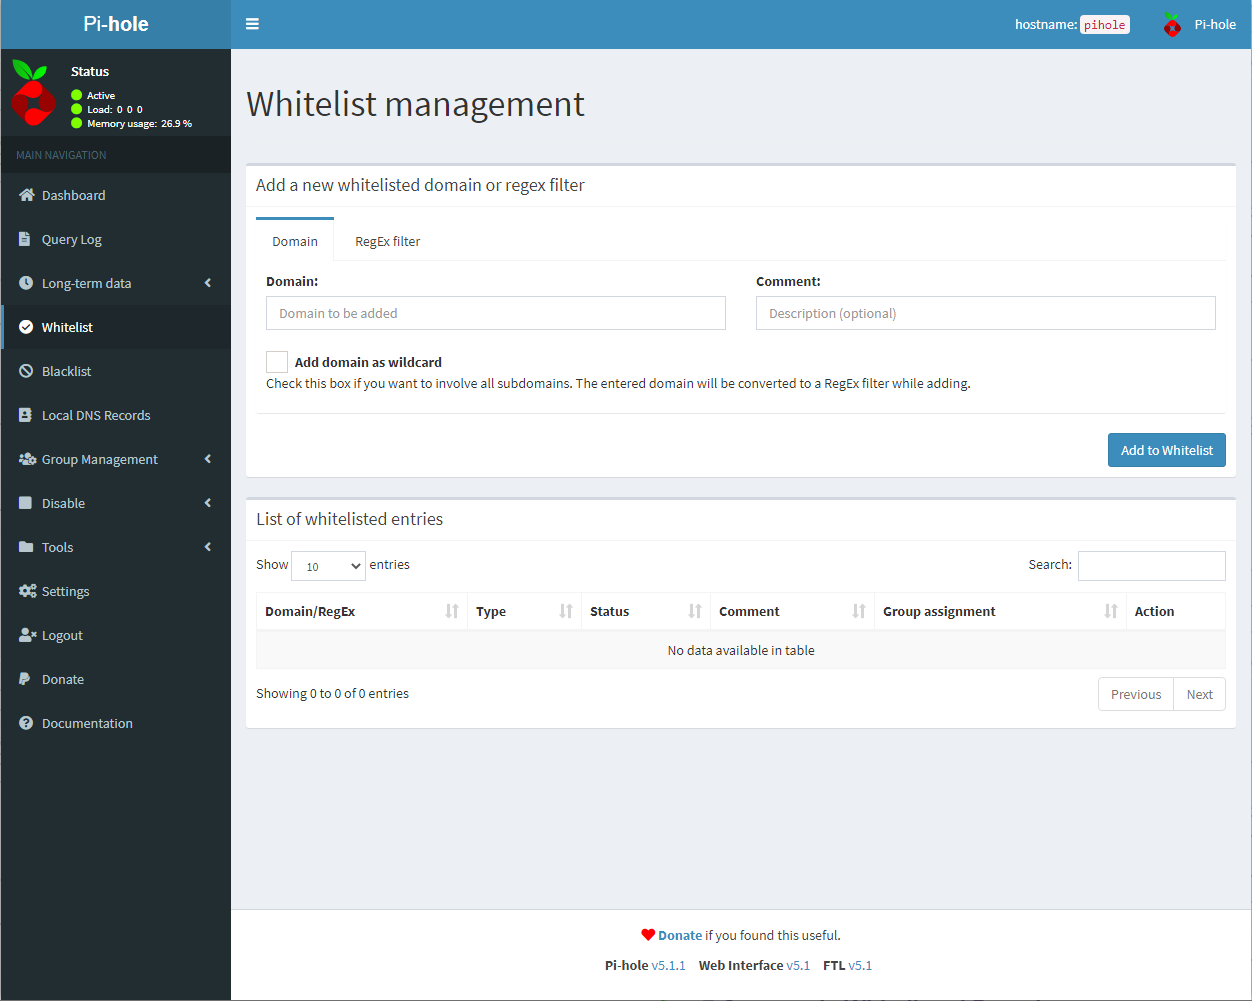
Click on the Whitelist menu item. Then you will paste the domain into the domain field and click add to whitelist.
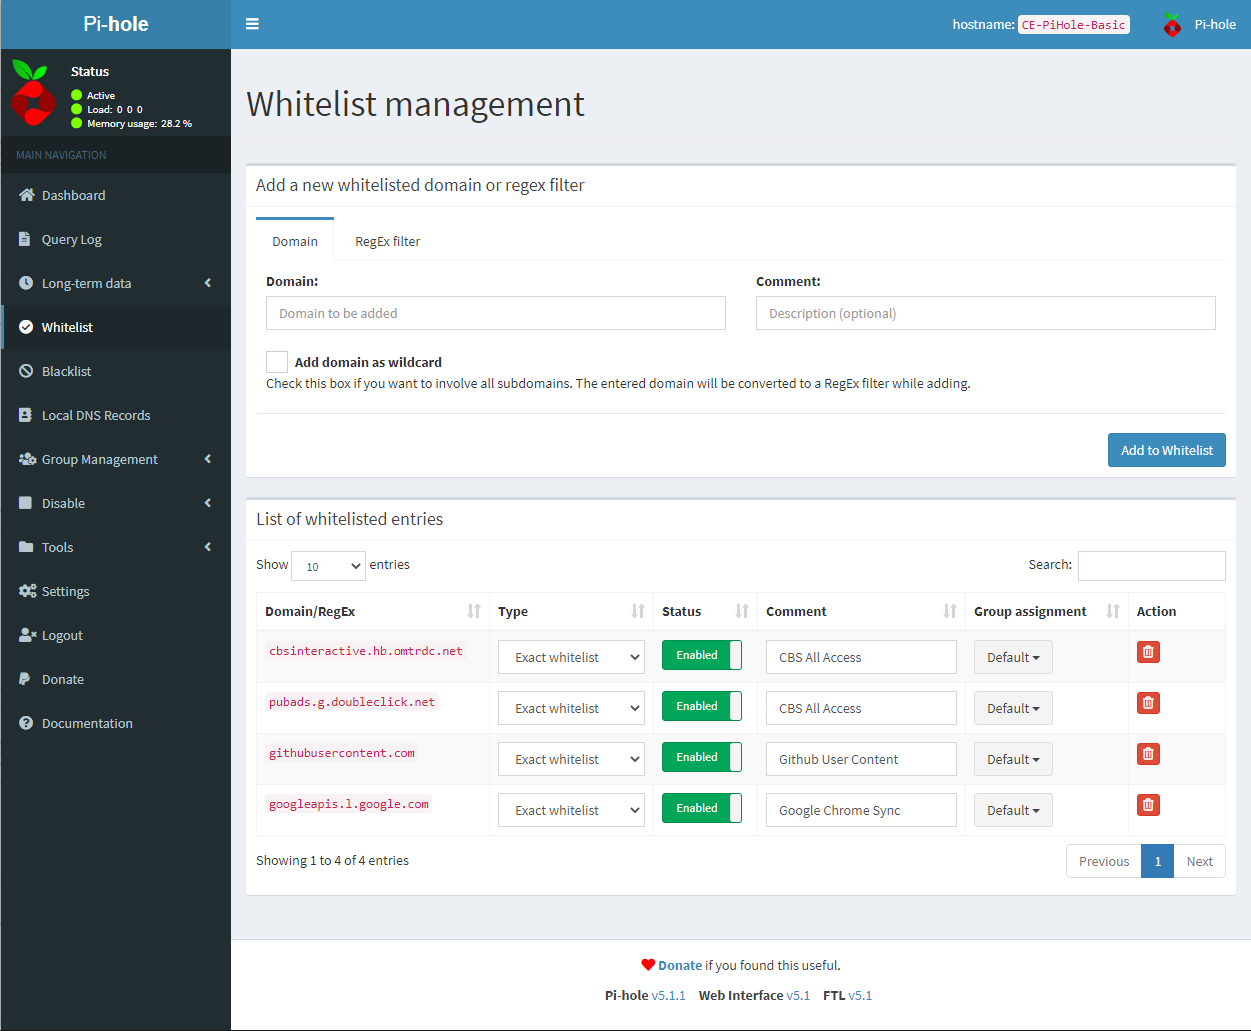
After doing this you can add comments to the whitelist items to make it easier to know what they are for in the future. Also on this page, you can enable and disable any whitelist items.
Now that you have a fairly secure Pi-Hole setup lets take the next step and encrypt and protect our DNS queries from your ISP and DNS man in the middle attacks. This is done by sending your DNS queries over HTTPS/TLS and no longer sending them in plain text.
If you would like to see if your ISP is intercepting your DNS queries the below sites can give you some information about that.
The above tests are not perfect but they do give you a good idea of your level of exposure. Plus in this day and age of continuous exploits, it is just a good idea to secure your DNS queries from prying eyes.
To achieve the aforementioned gold we will be using a project called DNSCrypt-Prox. It can be found at https://github.com/DNSCrypt/dnscrypt-proxy. Their installation documentation as of writing this is somewhat confusing and out of date. For these reasons, I will be guiding you through the process of installing and setting it up.
cd /optsudo wget https://github.com/DNSCrypt/dnscrypt-proxy/releases/download/2.0.44/dnscrypt-proxy-linux_x86_64-2.0.44.tar.gzsudo tar xzvf dnscrypt-proxy-linux_x86_64-2.*.tar.gzsudo mv linux-x86_64 dnscrypt-proxysudo rm dnscrypt-proxy-linux_x86_64-2.*.tar.gzcd dnscrypt-proxysudo cp example-dnscrypt-proxy.toml dnscrypt-proxy.tomlsudo nano dnscrypt-proxy.toml# server_names = [.server_names = ['google', 'cloudflare']listen_addresses = ['127.0.0.1:53'] and change it to read listen_addresses = ['127.0.0.1:5300']require_dnssec = false and change it to true.sudo ./dnscrypt-proxy -service installsudo ./dnscrypt-proxy -service startsudo setcap cap_net_bind_service=+pe dnscrypt-proxy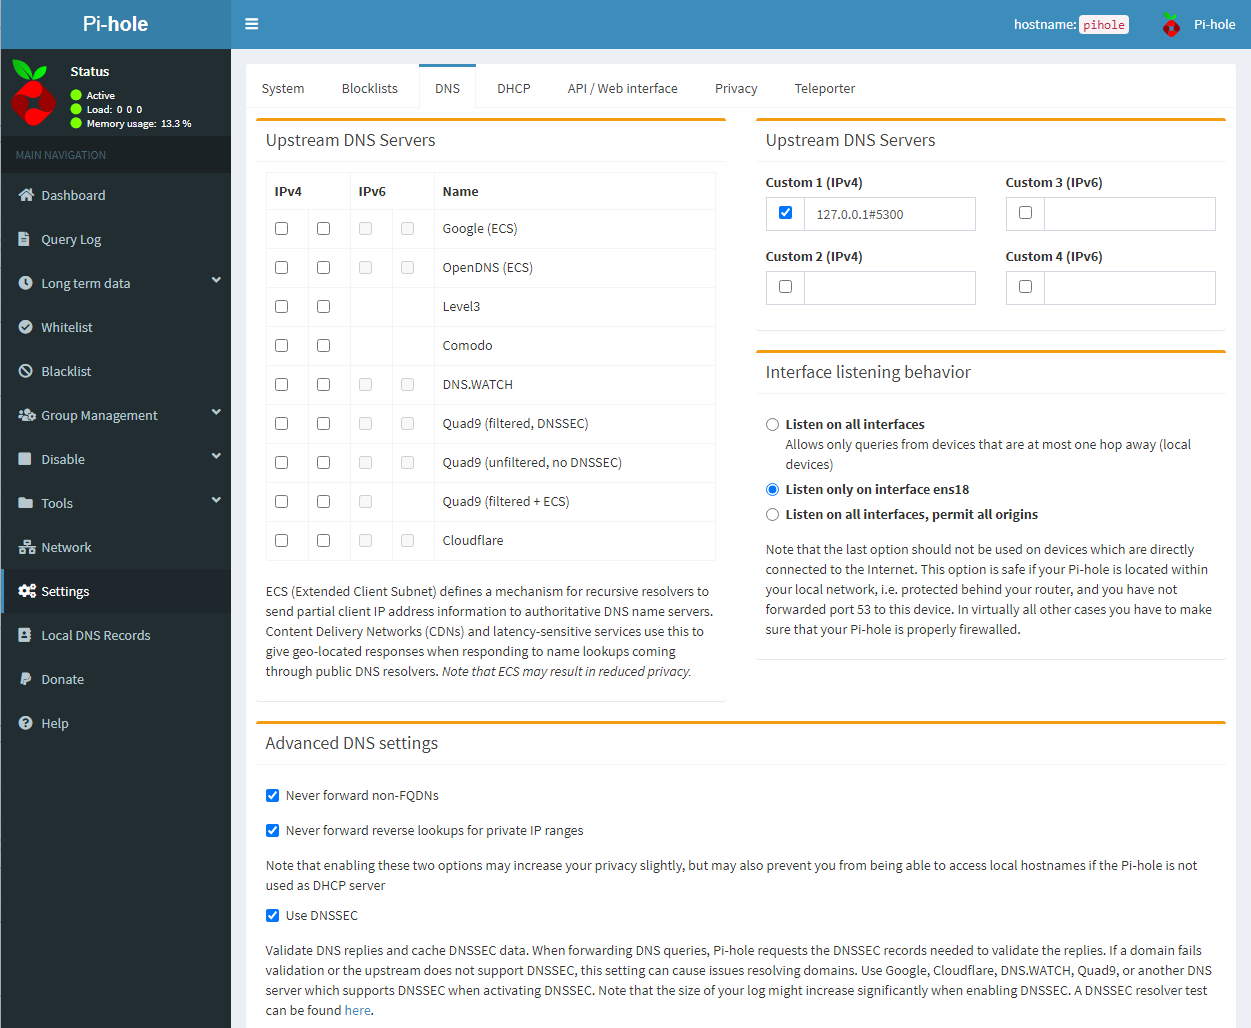
sudo rebootNow you can test again with the tools lister earlier to see if you are still leaking DNS queries.
Now that you have completed securing your DNS queries with DNSCrypt-Proxy you may notice that some devices are either still seeing ads or are not using your Pi-Hole Server. This is due to many devices like the Amazon Fire Stick and Roku, and software having backed in DNS servers. This allows them to circumvent your Pi-Hole server. To stop this we need to make changes to your router.
*** Note *** The following changes can break your network and may not work on all routers especially ISP-provided routers. Proceed at your own risk.
Luckily the changes needed are fairly simple. We will need to instruct your router to block ALL requests from Port 53. This is for outbound and inbound. Again due to the sheer number of routers out there you will need to look up instructions for your specific router on how to block traffic on specific ports. Conclusion
Now that you have completed this tutorial you now have a secure network-wide tracking and ad blocking DNS server setup. If you would like even more anonymity combining this tutorial with TOR and/or a VPN is a good final step and Tutorials for these will be posted below. Additional Resource Links
Below are links to the sources used in this tutorial and to additional information about the topics covered.